HPP Configuration
Follow the steps below to set the color scheme, logos and webhook URLs for your payment page and receipts:
-
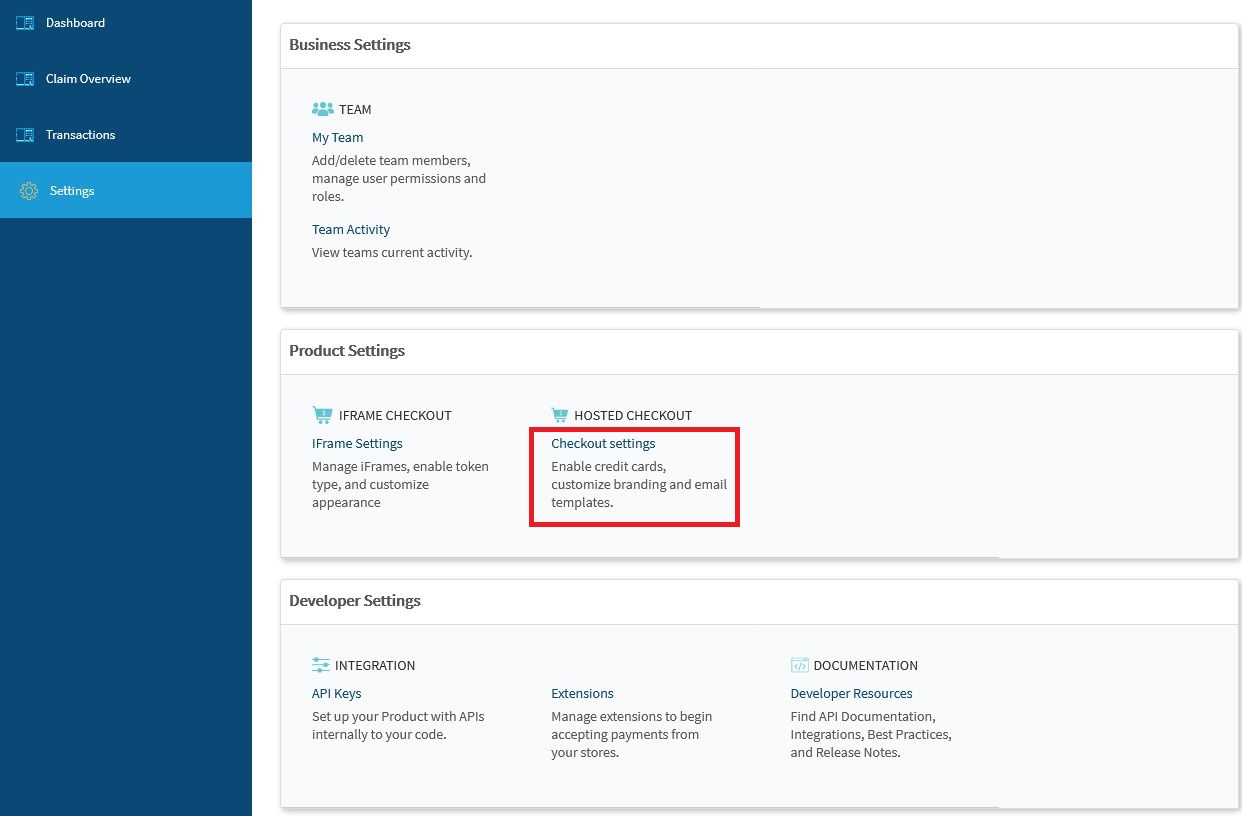
Log into your vPortal account and select Settings from the left hand navigation. Then click on Checkout Settings in the Product Settings section to open the HPP configuration page:
-
Set your business name and email address as shown below:

-
Enter the domain that you intend to use for the Hosted Payment Page:

Vesta uses the HPP domain to generate the URLs you will use to display the HPP, which ensures that the payment page can only be presented on your domain.
-
In the Customization section, shown below, define the appearance of the payment form for mobile and desktop screens and the receipt that Vesta generates for each transaction:

-
Upload your company’s logo. Your logo file must be a .png, .jpg, or .jpeg and cannot be larger than 1MB.
-
Define your brand colors by typing Hex values into the text boxes, or by using the color picker that opens when you click on the color swatch.
The sample form will update automatically to show your changes.
-
Review the appearance of the payment form and the receipt email by clicking on the Mobile, Desktop, and Email buttons in the upper right of the Customization section.
-
-
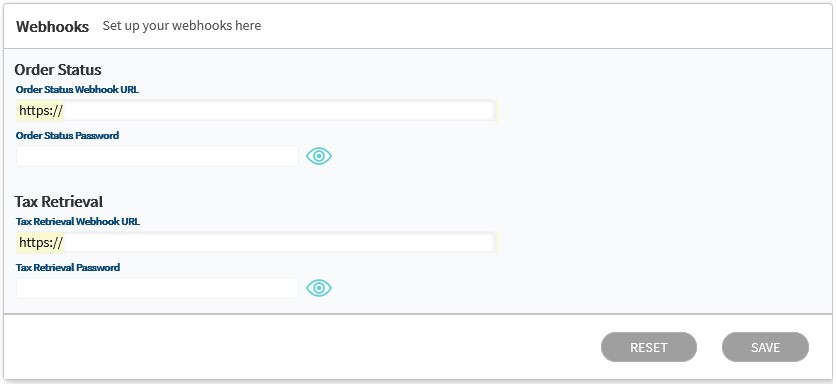
At the top of the Checkout Settings screen, click on WEBHOOK SETTINGS, to define your webhook URL and password, if applicable. The Webhooks tab will open, as shown below:
-
Enter the following information in the Webhooks section:
- Order Status Webhook URL - This is the URL that Vesta will use to return transaction results.
- Order Status Password - This field is optional. If your order status webhook requires a password, enter the password that Vesta should use when POSTing data.
- Tax Retrieval Webhook URL - This is the URL that Vesta will use to retrieve the updated tax information from the merchant if the customer changes the billing address country or state/region.
- Tax Retrieval Password - This field is optional. If your tax retrieval webhook requires a password, enter the password that Vesta should use when POSTing data.
Now that you have configured the HPP, proceed with the integration process to add the HPP to your application.